I am writing this post a few months after we had made the lip balm, because life has a way of making time zoom past you. It is a fortunate thing because now I can give you an honest review of the lip balm Rachael and I made from our bee’s wax. We had gotten this recipe from a site called Wellness Mama, and I absolutely love it. It feels wonderful on the lips and after having used it for a few months my lips feel fantastic. The recipe below is
Ingredients:
2 tablespoons of Beeswax (1 tablespoon of wax is .7kg if it would be easier to weigh it)
2 tablespoons Shea Butter (1 tablespoon of Shea Butter is .15kg if it would be easier to weigh it)
2 tablespoons Coconut Oil
30+ drops Peppermints Essential oil
Lip Balm Instructions
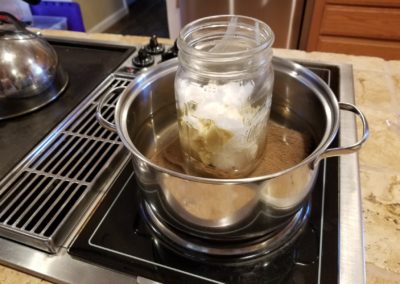
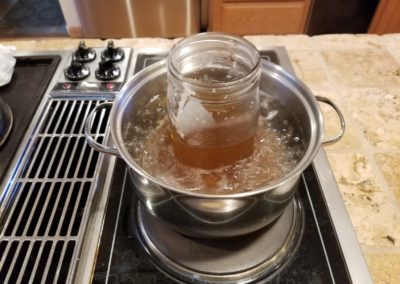
- Melt beeswax, Shea butter and coconut oil in a double boiler or small glass bowl over a small pot of boiling water, stirring constantly until melted.
- Remove pan from heat but keep over the still-hot water to keep the mixture melted.
- Add essential oils to your preference. I just added peppermint in this recipe. I recommend adding a few drops at a time and testing a tiny amount on your arm to make sure the scent is to your liking.
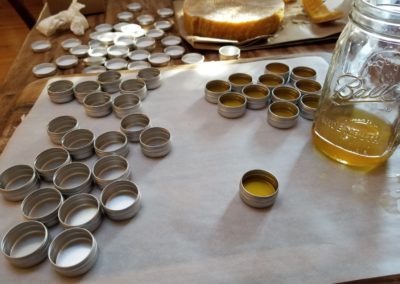
- Once you’ve added the essential oils, use the pipette or a dropper to fill the lip balm tubes. This must be done quickly since the mixture will start to harden as soon as it is removed from the heat.
- Let tubes sit at room temperature for several hours until cooled and completely hardened before capping them.
Notes:
Use an extra teaspoon or two of beeswax if you prefer a thicker and longer-lasting lip balm or slightly less if you prefer a smoother and softer lip balm. Since there are no water based ingredients, you can re-melt and add more of each ingredient during the melting process until you get the exact texture you want. When experimenting, put a few drops of the melted mixture onto a piece of parchment paper and let harden in the fridge so you can test it before putting the mixture into tubes. Have fun with it! This makes 12-14 tubes.


Recent Comments